微软Windows操作系统全面兼容机器人操作系统ROS1和ROS2_ros2_java for windows-程序员宅基地
技术标签: ROS Melodic 迷失与救赎 ROS ROS_melodic机器人操作系统 ROS2学习笔记与高校课程分享 windows
微软Windows操作系统全面兼容机器人操作系统ROS1和ROS2
turtlebot2:https://github.com/bfjelds/turtlebot2-win10
文档:https://libraries.io/github/bfjelds/turtlebot2-win10

安装在/opt/ros/melodic/x64文件夹下,依据如下教程即可安装成功。

ROS官网链接:http://wiki.ros.org/Installation/Windows
----
Turtlebot 3
Getting Started with the Turtlebot 3 running Windows. The ROS for Ubuntu documentation is located at the Robotis website . The documentation on this page will describe the differences between Ubuntu and Windows.
Windows Requirements
Windows Software
The Turtlebot 3 uses a Lidar which requires the following driver.
Guide
General notes
The turtlebot documentation uses the unix command 'export' to set environment variables, instead use the following:
set TURTLEBOT3_MODEL=Waffle
Please use turtlebot3_bringup-win.launch which has Windows device bindings.
6. Setup
6.1 PC Setup
Please follow the instructions for setting up your computer with ROS on Windows.
6.2 SBC Setup
You can bypass this section
6.3 OpenCR Setup
Please follow the Windows instructions for the Robotis OpenCR board in the Robotis Manual .
Before proceeding, make sure the motors turn by pressing the motor test buttons near the USB connector.
BUG: We're working to identify a sync error coming from rosserial, which ultimately leads to a board reset.
6.4 Compatible devices
ROS on Windows requires a x64 bit Windows 10 Desktop or Windows 10 IoT Enterprise, and compatible hardware.
ROS on Windows was brought up using Up2 and an Intel Nuc.
11 Simulation
As of the September release, Gazebo has not been ported to Windows yet.
Create a new workspace
In a Command Window set up with the ROS environment, create a directory for your robot workspaces and a workspace for turtlebot.
mkdir c:\ws\turtlebot3\src
cd c:\ws\turtlebot3\src
catkin_init_workspace
git clone -b melodic-devel https://github.com/ROBOTIS-GIT/turtlebot3_msgs
git clone -b melodic-devel https://github.com/ms-iot/turtlebot3_simulations
git clone -b melodic-devel https://github.com/ms-iot/turtlebot3.git
git clone -b melodic-devel https://github.com/ms-iot/hls_lfcd_lds_driver
cd c:\ws\turtlebot3
rosdep install --from-paths src --ignore-src -r -y
As of the September release of ros-melodic for Windows, Gazebo has not been ported. Please disable this portion of the build.
echo > turtlebot3_simulations\turtlebot3_gazebo\CATKIN_IGNORE
Customize Turtlebot Launch Files
Modify the ROS Launch files to map the devices to the correct COM port. To determine which COM ports you require, right click on the Windows Start Menu, Select Device Manager.
Under the Ports (COM & LPT) node:
- USB Serial Debice (COMx) is the OpenCR board.
- Silicon Labs CP210x USB to UART Bridge (COMy) is the Lidar
Enter the COM port in the correct fields in the launch files below:
turtlebot3_bringup/launch/turtlebot3_core-win.launch
<node pkg="rosserial_python" type="serial_node.py" name="turtlebot3_core" output="screen">
    <param name="port" value="COMx"/>
turtlebot3_bringup/launch/turtlebot3_lidar-win.launch
  <node pkg="hls_lfcd_lds_driver" type="hlds_laser_publisher" name="turtlebot3_lds" output="screen">
    <param name="port" value="COMy"/>
Build Nodes
To build the turtlebot packages, enter the turtlebot3 workspace and build using the catkin build system.
cd c:\ws\turtlebot3
catkin_make install -DCMAKE_BUILD_TYPE=RelWithDebInfo
Now inform ROS where to find your turtlebot code by merging the turtlebot install environment with the ROS environment. Please ensure you do this every time you open a command window.
c:\ws\turtlebot3\install\setup.bat
If you forget to merge the turtlebot environment by calling the setup batch file, you'll get an error such as this:
RLException: [turtlebot3_robot.launch] is neither a launch file in package [turtlebot3_bringup] nor is [turtlebot3_bringup] a launch file name
Running Turtlebot
No Robot - No Problem!
rViz is tool which allows you to visualize a representation of a robot, and project fake data in order to exerise or develop logic. The turtlebot simulation is in the turtlebot3_simulations package.
In one command window, start roscore.
In another command window, start the simulation environment.
roslaunch turtlebot3_simulations turtlebot3_fake.launch
You can create your own logic which reads /odom or publish /cmd_vel to move the virtual robot.
Run Turtlebot3 with Sensors connected to your devlopment machine.
If you have Turtlebot3 hardware, you can plug the sensors directly into your development machine to iterate on fuctionality with your development machine. Perform the steps to set up the launch file for your development system.
In one command window, start roscore.
In another command window, launch the turtlebot robot code.
roslaunch turtlebot3_bringup turtlebot3_robot.launch-----
ROS1链接:https://ros-win.visualstudio.com/ros-win
ROS for Windows
People have always been fascinated by robots. Today advanced robots are changing our lives, both at work and at home. Warehouse robots have enabled next-day deliveries to online shoppers, and many pet owners rely on robotic vacuums to keep their floors clean. Industries as diverse as manufacturing, transportation, healthcare, and real estate are seeing benefits from robots. As robots have advanced, so have the development tools. Many developers leverage the Robot Operating System (ROS) , a set of libraries and tools which help you build complex robots. ROS is used in many cutting-edge robotic projects around the world.
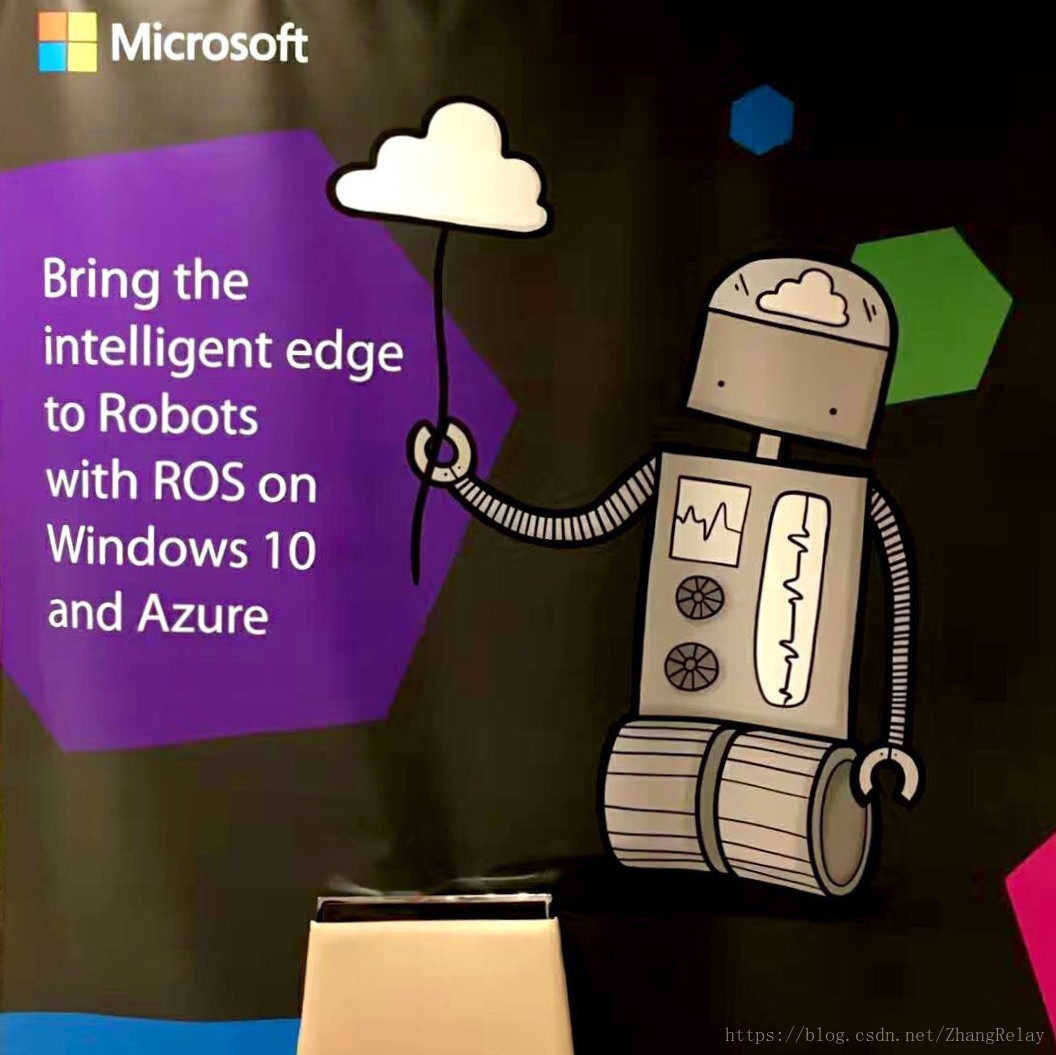
Microsoft is excited to announce an experimental release of ROS1 for Windows. This will bring the manageability and security of Windows 10 IoT Enterprise to the innovative ROS ecosystem.
Windows has been a trusted part of robotic and industrial systems for decades. With ROS for Windows, developers will be able to use the familiar Visual Studio toolset along with rich AI and cloud features. We're looking forward to bringing the intelligent edge to robotics by exposing advanced features like hardware accelerated Windows Machine Learning, computer vision, Azure Cognitive Services, Azure IoT cloud services, and other Microsoft technologies to home, education, commercial, and industrial robots. Manufacturers want to make robots more aware of their surroundings, easier to program and safer to be around. Governments, manufacturers, and academics around the world are investing in the next generation of manufacturing, sometimes referred to as “Industry 4.0”.
Microsoft is working with Open Robotics and the ROS Industrial Consortium to bring the Robot Operating System to Windows. Microsoft has joined the ROS Industrial Consortium whose mission is to extend the advanced capabilities of ROS to manufacturing and improve the productivity and return on investment of industrial robots . At ROSCon 2018 in Madrid, Spain, Microsoft demonstrated a Robotis Turtlebot 3 robot, running the ROS release known as Melodic Morenia, that recognized and steered toward the closest person to the robot. The robot runs Windows 10 IoT Enterprise on an Intel Coffee Lake NUC using a new ROS node which leverages hardware accelerated Windows Machine Learning. Microsoft also showcased a ROS simulation environment running in Azure.It demonstrated a swarm of robots running in a virtual world connected to an orchestration system and controlled via Azure IoT Hub. Microsoft will host the Windows builds for ROS1 and shortly ROS2, as well as provide documentation, development and deployment solutions for Windows.
ROS on Windows is experimental. For more details, visit us at ROSCon 2018
Working with ROS on Windows
- Install ROS on Windows
- Are you new to ROS?
- Learn about the differences between ROS on Windows and ROS on Linux
- Porting Status
- Getting Started with Turtlebot3
- About the Azure DevOps buildfarm for ROS on Windows
- Buiding ROS for Windows from Source
Using ROS with Azure
ROS2链接:https://github.com/ros2/ros2/wiki/Windows-Install-Binary
Windows Install Binary
Mikael Arguedas edited this page on 25 Aug · 64 revisions
Installing ROS 2 on Windows
This page explains how to install ROS 2 on Windows from a pre-built binary package.
System requirements
As of beta-2 only Windows 10 is supported.
Installing prerequisites
Install Chocolatey
Chocolatey is a package manager for Windows, install it by following their installation instructions:
You'll use Chocolatey to install some other developer tools.
Install Python
Open a Command Prompt and type the following to install Python via Chocolatey:
> choco install -y python
Install OpenSSL
Download an OpenSSL installer from this page. Scroll to the bottom of the page and download Win64 OpenSSL v1.0.2. Don't download the Win32 or Light versions.
Run the installer with default parameters. Then, define environment variables (the following commands assume you used the default installation directory):
setx -m OPENSSL_CONF C:\OpenSSL-Win64\bin\openssl.cfg- Add
C:\OpenSSL-Win64\bin\to your PATH
Install Visual Studio
Install Visual Studio 2015 if using Ardent or earlier
Install Visual Studio 2017 if using Bouncy or a nightly
Install additional DDS implementations (optional)
ROS 2 builds on top of DDS. It is compatible with multiple DDS or RTPS (the DDS wire protocol) vendors.
The package you downloaded has been built with optional support for multiple vendors: eProsima FastRTPS, Adlink OpenSplice, and (as of ROS 2 Bouncy) RTI Connext as the middleware options. Run-time support for eProsima's Fast RTPS is included bundled by default. If you would like to use one of the other vendors you will need to install their software separately.
Adlink OpenSplice
If you want to use OpenSplice, you will need to download the latest version (for ROS 2 Bouncy we require at least version 6.7.180404OSS-HDE-x86_64.win-vs2017). For ROS 2 releases up to and including Ardent, extract it but do not do anything else at this point. For ROS 2 releases later than Ardent, set the OSPL_HOME environment variable to the unpacked directory that contains the release.bat script.
RTI Connext
To use RTI Connext (available as of ROS 2 Bouncy) you will need to have obtained a license from RTI.
You can install the Windows package of Connext version 5.3.1 provided by RTI from their downloads page.
After installing, run RTI launcher and point it to your license file.
Set the NDDSHOME environment variable:
set "NDDSHOME=C:\Program Files\rti_connext_dds-5.3.1"
If you want to install the Connext DDS-Security plugins please refer to this page
Install OpenCV
Some of the examples require OpenCV to be installed.
You can download a precompiled version of OpenCV 3.4.1 from https://github.com/ros2/ros2/releases/download/opencv-archives/opencv-3.4.1-vc15.VS2017.zip
Assuming you unpacked it to C:\opencv, type the following on a Command Prompt (requires Admin privileges):
setx -m OpenCV_DIR C:\opencv
Since you are using a precompiled ROS version, we have to tell it where to find the OpenCV libraries. You have to extend the PATH variable to c:\opencv\x64\vc15\bin
In ardent and earlier
These releases used OpenCV 2. You can download a precompiled version of OpenCV 2.4.13.2 from https://github.com/ros2/ros2/releases/download/release-beta2/opencv-2.4.13.2-vc14.VS2015.zip
Since you are using a precompiled ROS version, we have to tell it where to find the OpenCV libraries. Assuming you were extracting OpenCV to c:\ you have to extend the PATH variable to c:\opencv-2.4.13.2-vc14.VS2015\x64\vc14\bin
Install dependencies
There are a few dependencies not available in the Chocolatey package database. In order to ease the manual installation process, we provide the necessary Chocolatey packages.
As some chocolatey packages rely on it, we start by installing CMake
> choco install -y cmake
You will need to append the CMake bin folder C:\Program Files\CMake\bin to the PATH (you can do this by clicking the Windows icon, typing "Environment Variables", then clicking on "Edit the system environment variables". In the resulting dialog, click "Environment Variables", the click "Path" on the bottom pane, then click "Edit" and add the path).
Please download these packages from this GitHub repository.
- asio.1.12.1.nupkg
- eigen-3.3.4.nupkg
- tinyxml-usestl.2.6.2.nupkg
- tinyxml2.6.0.0.nupkg
Once these packages are downloaded, open an administrative shell and execute the following command:
> choco install -y -s <PATH\TO\DOWNLOADS\> asio eigen tinyxml-usestl tinyxml2
Please replace <PATH\TO\DOWNLOADS> with the folder you downloaded the packages to.
You must also install some python dependencies for command-line tools:
python -m pip install -U catkin_pkg empy pyparsing pyyaml setuptools
Downloading ROS 2
- Go the releases page: https://github.com/ros2/ros2/releases
- Download the latest package for Windows, e.g.,
ros2-package-windows-AMD64.zip.- Notes:
- there may be more than one binary download option which might cause the file name to differ.
- [ROS Bouncy only] To download the ROS 2 debug libraries you'll need to download
ros2-bouncy-windows-Debug-AMD64.zip
- Notes:
- Unpack the zip file somewhere (we'll assume
C:\dev\ros2).- Note (Ardent and earlier): There seems to be an issue where extracting the zip file with 7zip causes RViz to crash on startup. Extract the zip file using the Windows explorer to prevent this.
Set up the ROS 2 environment
Start a command shell and source the ROS 2 setup file to set up the workspace:
> call C:\dev\ros2\local_setup.bat
For ROS 2 releases up to and including Ardent, if you downloaded a release with OpenSplice support you must additionally source the OpenSplice setup file manually (this is done automatically for ROS 2 releases later than Ardent; this step can be skipped). It is normal that the previous command, if nothing else went wrong, outputs "The system cannot find the path specified." exactly once. Only do this step after you have sourced the ROS 2 setup file:
> call "C:\opensplice67\HDE\x86_64.win64\release.bat"
Try some examples
In a command shell, set up the ROS 2 environment as described above and then run a talker:
> ros2 run demo_nodes_cpp talker
Start another command shell and run a listener:
> ros2 run demo_nodes_py listener
You should see the talker saying that it's Publishing messages and the listener saying I heard those messages. Hooray!
If you have installed support for an optional vendor, see this page for details on how to use that vendor.
Troubleshooting
- If at one point your example would not start because of missing dll's, please verify that all libraries from external dependencies such as OpenCV are located inside your
PATHvariable. - If you forget to call the
local_setup.batfile from your terminal, the demo programs will most likely crash immediately.
智能推荐
C# 静态代码块(静态构造函数)_java static块 c#-程序员宅基地
文章浏览阅读1.2w次。本来以为是和java一样写法。结果找了半天也没找到。原来有静态构造函数一样的功能。class SimpleClass{ // Static constructor static SimpleClass() { //... }}静态构造函数具有以下特点:静态构造函数既没有访问修饰符,也没有参数_java static块 c#
cad如何多选对象_CAD熟练这个shift的快捷键可以让你画图速度飞起-程序员宅基地
文章浏览阅读8.3k次。cad也疯狂cad快捷键对于每个设计师来说都是不可缺少的一部分,必须要一步一个脚印踏踏实实把基础打好,而熟练一些常用的快捷键,可以让你事半功倍。例如ctrl+c、ctrl+v、ctrl+shift+c、ctrl+shift+v实用的组合快捷键还很多,今天小编和大家分享一个很实用但很容易被大家忽略SHIFT键在CAD中的使用技巧。一、首先是最常见的用 shift键添加到选择集注意这里是不勾选时累加选..._cad多选快捷键
4键电子手表说明书_4键sport电子表使用说明书,按START键可循环选择12/24小时显示格式...-程序员宅基地
文章浏览阅读2.1w次,点赞3次,收藏4次。电子表使用说明书1 、正常时间模式:正常时间画面显示时、分、秒、星期。1.1 按START键显示日期。1.2 按RESET键显示每日闹铃时间。1.3 按MODE进入跑秒模式。1.4 按LIGHT键灯亮3秒。1.5 按RESET+START键打开/关闭每日闹铃,相应的图标显示/消失;按住两键则发出bibi的响声。1.6 按RESET+MODE键可打开/关闭整点报时(星期全显示为打开,反之则为关闭)。..._sport watch手表说明书图解
【JAVA视频压缩】-------轻量级视频压缩组件JAVE_javacv压缩视频-程序员宅基地
文章浏览阅读4.3k次,点赞2次,收藏18次。最近要用到视频压缩功能。通过搜索发现了ffmpeg,javacv,这两个是比较主流的流媒体组件,但是研究下来发现,如果仅仅是需要视频压缩的话,那么就有点大材小用了。FFmpeg是C语言开发的,对于我们java来说有点难了,而javacv是java语言写的,源码读起来还容易上手,但是由于这两个组件功能较多,就被作者放弃了,最后找到了另外一个小众的工具JAVE。JAVE简介简单的说,JAVE..._javacv压缩视频
html怎么遍历二维数组,原生js for循环遍历二维数组、嵌套元素的简单示例-程序员宅基地
文章浏览阅读1.4k次。这篇文章主要为大家详细介绍了原生js for循环遍历二维数组、嵌套元素的简单示例,具有一定的参考价值,可以用来参考一下。关于for循环这是js中的重点,特别是项目中会经常用到,并且它的运用范围还极其的广泛,极其的复杂,今天就来遍历一个多层嵌套的元素,先来看看简单的布局:我的好友张安李三张四nonono不认识的人王五刘四赵三黑名单刘八李八周六这种布局就是ul里有li然后li里又嵌套着ul,并且不是单..._html如何调用二维数组中的元素
Android音频框架之二 用户录音启动流程源码走读_audio remote_submix 录音-程序员宅基地
文章浏览阅读7.1k次,点赞2次,收藏5次。前言此篇是对《Android音频框架之一 详解audioPolicy流程及HAL驱动加载》的延续,此系列博文是记录在Android7.1系统即以后版本实现内录音功能。当用户使用 AudioRecord 录音 API 时,private void init() { int minBufferSize = AudioRecord.getMinBufferSize(kSampleRate, kChannelMode, kEncodeFormat); _audio remote_submix 录音
随便推点
MySQL开发技巧 - 分页和索引_本关任务:能分页读取表中数据,针对大数据量进行简单优化。-程序员宅基地
文章浏览阅读2.6k次,点赞2次,收藏3次。第1关:MySQL 分页查询本关任务:能分页读取表中数据,针对大数据量进行简单优化。USE Products;#请在此处添加实现代码########## Begin ###########1.分页查询select prod_id from products limit 5,5;#2.用子查询优化分页查询语句select prod_id from products where prod_id >=(select prod_id from products limit 10,1) l_本关任务:能分页读取表中数据,针对大数据量进行简单优化。
WPF 控件专题 Image控件详解_wpf image-程序员宅基地
文章浏览阅读5.3k次。WPF 控件专题 Image控件详解_wpf image
OMPL库学习笔记0--写在前面_ompl time-程序员宅基地
文章浏览阅读2.7k次。 从今天开始学习OMPL库函数,自己是一个没有恒心的人,而OMPL库又实在比较庞大,这算是写在前面的自我鼓励吧。记录这些学习笔记是自我加深认识的一个过程,肯定存在许多错误,希望有看到错误的小伙伴可以不吝指教,也希望可以和大家多多交流,相互学习。 在了解OMPL库之前还有一步是必须的,那就是下载OMPL库,就像我们看一本书,你总得先有这本书吧 我自己在网上找了一..._ompl time
PMP之项目风险管理---实施定量风险分析_pmp敏感性分析-程序员宅基地
文章浏览阅读2.3k次。1. 气泡图_pmp敏感性分析
时序分析的基本概念和术语-程序员宅基地
文章浏览阅读3.4k次,点赞11次,收藏45次。一、发起沿和捕获沿发起沿:数据发送的时钟沿叫发起沿。捕获沿:数据接收的时钟沿叫捕获沿。发起沿和捕获沿之间一般情况下相差一个时钟周期。二、四种时序路径模型1.外部输入端口到内部寄存器的路径。2.内部寄存器之间的时序路径。3.内部寄存器到外部端口的时序路径。4.输入到输出的组合路径。上述四种时序路径的起点和终点start end point1.Device A/clk rega/D2.rega/clk regb/D_时序
SQL注入-报错注入_sql报错注入-程序员宅基地
文章浏览阅读9.5k次,点赞4次,收藏47次。sql注入之报错注入的演示与介绍_sql报错注入